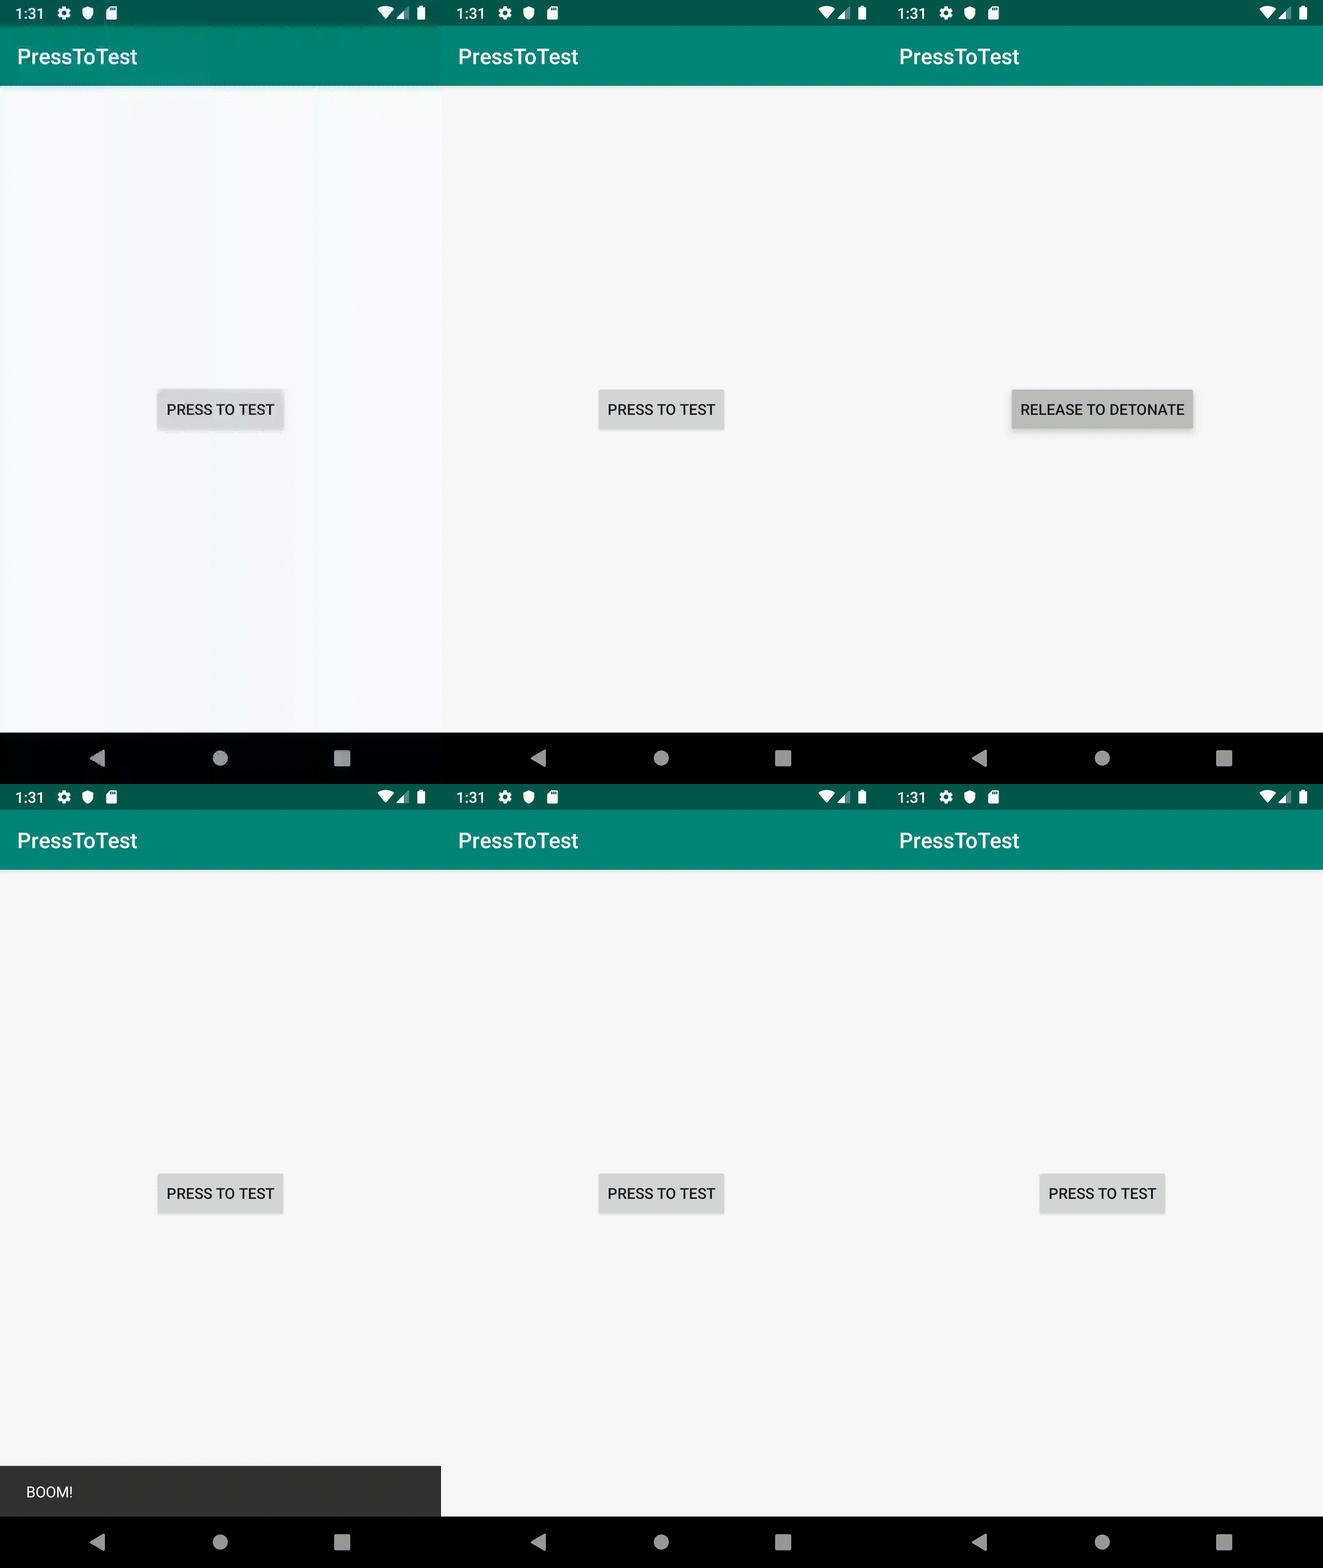
Press to Test - Test Driven Development in Android Part 1
23 May 2019This is Part 1 in a series documenting my experiences learning Android development in Kotlin.
I’m going to start with a simple GUI toy that I have implemented in several GUI toolkits over the years - Press to Test.
Creating the Project
This is my first Android project, so I have to install Android Studio and its tools, which takes some time. Once I can finally open the app I start by picking “Empty Activity” from the Android Studio “New Project” wizard, selecting a package for the source and leaving everything else as default. As a old XP developer I’m pleased to see that there are already two tests, an example unit test
class ExampleUnitTest {
    @Test
    fun addition_isCorrect() {
        assertEquals(4, 2 + 2)
    }
}
and an example instrumented test, designed to run on a device or emulator
@RunWith(AndroidJUnit4::class)
class ExampleInstrumentedTest {
    @Test
    fun useAppContext() {
        // Context of the app under test.
        val appContext = InstrumentationRegistry.getTargetContext()
        assertEquals("com.oneeyedmen.presstotest", appContext.packageName)
    }
}
Oh, and there is an actual application too
class MainActivity : AppCompatActivity() {

    override fun onCreate(savedInstanceState: Bundle?) {
        super.onCreate(savedInstanceState)
        setContentView(R.layout.activity_main)
    }
}
Running this prompts me to create an emulator and then boots it up and runs the app, which due to some magic in activity_main.xml draws “Hello World” in the middle of the simulated phone’s screen.
The unit test runs and passes as expected, and impressively ExampleInstrumentedTest also runs in Android Studio, installs the app on the emulator, and passes. As I was taught never to trust a test I hadn’t seen fail, I try breaking the test by changing the constant in assertEquals and it obligingly fails with a nice stack trace in the Android Studio test runner.
So far so good.
Cutting Myself Some Slack
Now I should write a failing test before adding any functionality. I should, but I don’t actually know anything about Android development, let alone how to write sensible tests. Luckily XP has a get out - we can write a Spike to investigate how something might be done.
But what is that I am trying to to do?
The Requirement
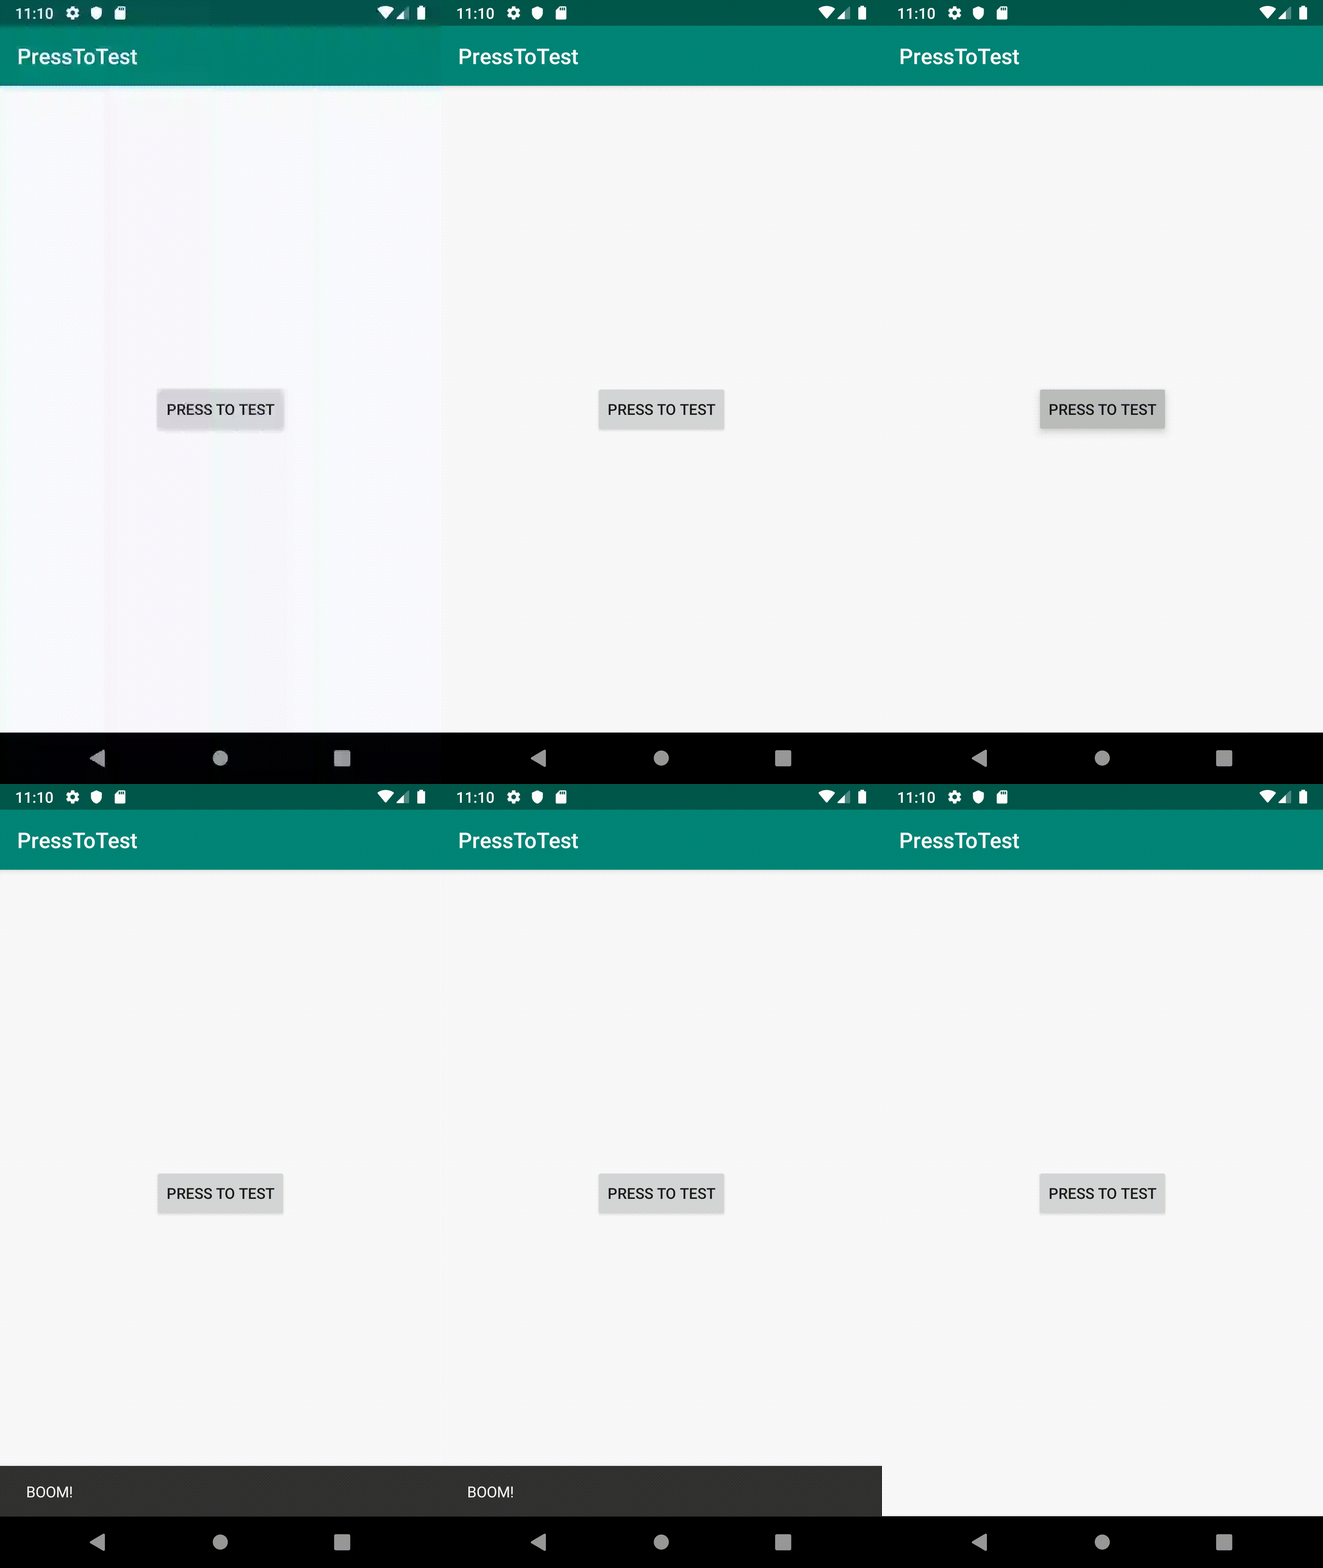
The app should show a single button with the label Press to Test. When you press, but don’t release, the button, its label should change to Release to Detonate. Releasing the button should result in some audiovisual extravaganza and reset the button for the next victim.
I know right? How is there not already an app in the Play Store for this?
Spike
I noodle around in the visual designer replacing the “Hello World” label with a “Press to Test” button, then look for how to implement the audiovisual extravaganza. Googling for “android show popup message” yields links for Toast and SnackBars and I arbitrarily choose the later as being more modern, probably. More Googling, this time for “android button click event” and I cobble together the following.
class MainActivity : AppCompatActivity() {

    override fun onCreate(savedInstanceState: Bundle?) {
        super.onCreate(savedInstanceState)
        setContentView(R.layout.activity_main)

        button.setOnClickListener { view ->
            Snackbar.make(view, "BOOM!", Snackbar.LENGTH_SHORT)
                .setAction("Action", null).show()
        }
    }
}
This is what my friend Richard Care would describe as “monkey-see, monkey-do” code. In particular I have no real idea where R.layout.activity_main and button come from, except for some theory that code is being generated to reflect the contents of resource XML files. But no matter, because it works.

Now For That Test
I suspect that there might be ways to test our UI in unit tests, with fake bits of Android, but there’s nothing like the reassurance of a test that actually runs on a device, albeit an emulated one. So I Google for “Android UI testing” and find Espresso is the recommended approach. Except that when I look at the latest examples, they seem to using different packages than the example code generated by Android Studio. In the end I plump for using androidx.test by updating a whole bunch of referenced libraries and Googling for the errors caused until they went away.
Armed with Espresso, I can launch my activity (although I’m not clear why that is different from running the app) and press the button in code.
import androidx.test.InstrumentationRegistry
import androidx.test.espresso.Espresso
import androidx.test.espresso.action.ViewActions.click
import androidx.test.espresso.matcher.ViewMatchers.withId
import androidx.test.ext.junit.runners.AndroidJUnit4
import androidx.test.rule.ActivityTestRule

import org.junit.Test
import org.junit.runner.RunWith
import org.junit.Assert.*
import org.junit.Rule

@RunWith(AndroidJUnit4::class)
class ExampleInstrumentedTest {

    @get:Rule
    val activityRule = ActivityTestRule(MainActivity::class.java)

    @Test
    fun click_button() {
        Espresso.onView(withId(R.id.button)).perform(click())
    }
}
When I run this in Android Studio, the emulator helpfully reacts and shows the snackbar, so that gives lots of confidence that we’re on the right track.
Now more Googling for how to find and check the snackbar, leading after about half an hour of experiments to the following
@RunWith(AndroidJUnit4::class)
class ExampleInstrumentedTest {

    @get:Rule
    val activityRule = ActivityTestRule(MainActivity::class.java)

    @Test
    fun click_button() {
        val snackBarMatcher = allOf(
            withId(android.support.design.R.id.snackbar_text),
            withText("BOOM!")
        )

        onView(snackBarMatcher).check(doesNotExist())

        onView(withId(R.id.button)).perform(click())
        onView(snackBarMatcher).check(matches(isDisplayed()))

        Thread.sleep(3000)
        onView(snackBarMatcher).check(doesNotExist())
    }
}
Hey that’s not at all bad. Espresso seems well thought out, and although the Thread.sleep is a bit icky I can live with it for now. The test name is bad, but it will get sorted out when we have more context too. I guess we should call the end of our spike and settle down into TDD.
The Button Text
The only thing that our app doesn’t do (assuming you have a low extravaganza-threshold) is change the button text. Before implementing that, I work out how to check the text in a test, and refactor the existing test a little.
@RunWith(AndroidJUnit4::class)
class ExampleInstrumentedTest {

    @get:Rule
    val activityRule = ActivityTestRule(MainActivity::class.java)

    @Test
    fun button_message_changes_on_pressing() {
        onView(buttonMatcher).check(matches(
            allOf(
                isDisplayed(),
                withText("PRESS TO TEST")
            )))
    }

    @Test
    fun clicking_button_shows_temporary_BOOM_message() {

        onView(snackBarMatcher).check(doesNotExist())

        onView(buttonMatcher).perform(click())
        onView(snackBarMatcher).check(matches(isDisplayed()))

        Thread.sleep(3000)
        onView(snackBarMatcher).check(doesNotExist())
    }
}

private val buttonMatcher = withId(R.id.button)

private val snackBarMatcher = allOf(
    withId(android.support.design.R.id.snackbar_text),
    withText("BOOM!")
)
Now we’re fully into test-first mode, I go looking for how to test touch down and touch up interactions in Espresso. Copying and pasting the code from the answer into a Finger object let’s me write
    @Test
    fun button_message_changes_on_pressing() {
        onView(buttonMatcher).check(matches(
            allOf(
                isDisplayed(),
                withText("PRESS TO TEST")
            )))

        onView(buttonMatcher).perform(Finger.pressAndHold())
        onView(buttonMatcher).check(matches(
            allOf(
                isDisplayed(),
                withText("RELEASE TO DETONATE")
            )))

        onView(buttonMatcher).perform(Finger.release())
        onView(buttonMatcher).check(matches(
            allOf(
                isDisplayed(),
                withText("PRESS TO TEST")
            )))
    }
which isn’t pretty but does fail, so I can write some production code. More Googling reveals setOnTouchListener, allowing me to cobble together the following
class MainActivity : AppCompatActivity() {

    override fun onCreate(savedInstanceState: Bundle?) {
        super.onCreate(savedInstanceState)
        setContentView(R.layout.activity_main)

        button.setOnTouchListener { view, event ->
            when (event.actionMasked) {
                MotionEvent.ACTION_DOWN -> button.text = "RELEASE TO DETONATE"
                MotionEvent.ACTION_UP -> button.text = "PRESS TO TEST"
            }
            true
        }

        button.setOnClickListener { view ->
            Snackbar.make(view, "BOOM!", Snackbar.LENGTH_SHORT)
                .setAction("Action", null).show()
        }
    }
}
Build it, run the tests and get home in time for tea and medals. Except that the button_message_changes_on_pressing fails. I’m used to this though - knowing UI tests it’s probably some timing issue. So I run the app in the emulator, and find that, in fact, our earth-shattering kaboom is missing.
Running the test again shows that Espresso was trying to tell me that
androidx.test.espresso.NoMatchingViewException: No views in hierarchy found matching: (with id: com.oneeyedmen.presstotest:id/snackbar_text and with text: is "BOOM!")
along with a really handy dump of the whole view hierarchy. Well, it isn’t handy now, but I can see it being very useful when debugging problems where a view is present but invisible, or sitting under the wrong parent.
Luckily it doesn’t take long to realise that the problem is that returning true from the touch listener is telling Android that we have handled the event, so it isn’t processing the up to make a click. Return false, and the tests both pass. Not only that, but the app actually works!

Tidy Up
All that’s required is a little test tidy up
@RunWith(AndroidJUnit4::class)
class ExampleInstrumentedTest {

    @get:Rule
    val activityRule = ActivityTestRule(MainActivity::class.java)

    @Test
    fun button_message_changes_on_pressing() {
        val button = onView(buttonMatcher)

        button.check(isDisplayed(withText("PRESS TO TEST")))

        button.perform(Finger.pressAndHold())
        button.check(isDisplayed(withText("RELEASE TO DETONATE")))

        button.perform(Finger.release())
        button.check(isDisplayed(withText("PRESS TO TEST")))
    }

    @Test
    fun clicking_button_shows_temporary_BOOM_message() {

        onView(snackBarMatcher).check(doesNotExist())

        onView(buttonMatcher).perform(click())
        onView(snackBarMatcher).check(isDisplayed())

        Thread.sleep(3000)
        onView(snackBarMatcher).check(doesNotExist())
    }
}

private val buttonMatcher = withId(R.id.button)

private val snackBarMatcher = allOf(
    withId(android.support.design.R.id.snackbar_text),
    withText("BOOM!")
)

private fun isDisplayed(matcher: Matcher<View> = Matchers.any(View::class.java)) = matches(
    allOf(
        ViewMatchers.isDisplayed(),
        matcher
    )
)
and we’re done for the day.
Wrap Up
Running tests on the emulator is remarkably painless with Android Studio. Each one does take a couple of seconds though, so it would be nice to be able to test our logic as part of unit tests run in a nice fast Gradle test VM instance. In the next installment I’ll take a look at that.